Uncertain about how to capture a screenshot on your Mac? No worries, as this blog post will present multiple methods for taking screenshots on your Mac.

Whether you’re using the latest Mac models like the iMac, MacBook, Mac Studio, or Mac Mini, there are several keyboard shortcuts at your disposal for screenshotting.
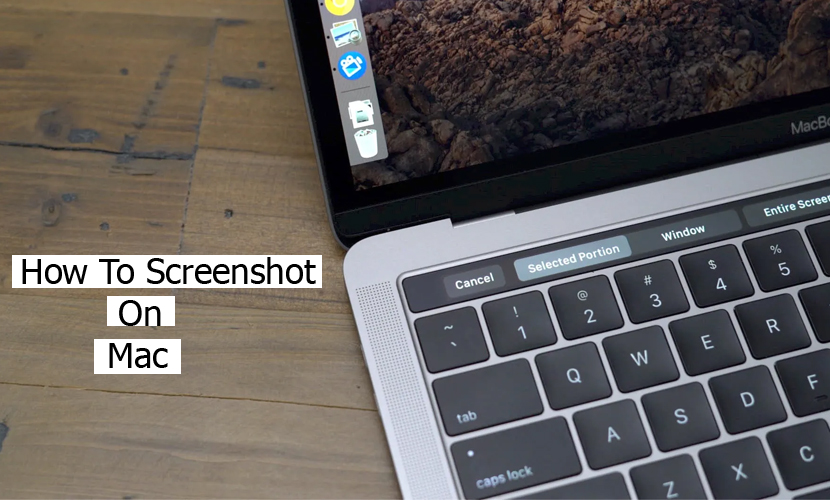
If you own a MacBook Pro, you can even make use of the Touch Bar to take screenshots. Furthermore, macOS offers additional options for saving, editing, and opening screenshots.
In this comprehensive guide, you’ll find detailed information on various screenshot techniques for your Mac.
How to Screenshot on Mac with Keyboard Shortcuts
Mac provides keyboard shortcuts that you can use to take screenshots on all of your Mac devices, such as the iMac, MacBook laptops, Mac Studio desktops, and Mac Mini.
You can use these shortcuts to instantly take screenshots of your screen, a specific window, or even a section of the screen.
How To Capture the Whole Screen
- Tap and hold the Command, Shift, and 3 keys at the same time. This will take a screenshot of the whole screen.
- Then you will see a floating thumbnail located at the bottom-right corner of your screen.
- Then you will swipe the thumbnail away, or you can let it slip away on its own, and it will be saved on your desktop.
- Alternatively, you can tap on the thumbnail to open it in a brand-new editing window. Then you can crop the screenshot in this window.
Take Partial Screenshot
- Tap and hold the Command, Shift, and 4 keys at the same time.
- Then your mouse cursor will become a crosshair.
- Next, you drag it to choose the area that you want to capture.
- As soon as you are done, you can release the mouse button to take the screenshot.
- Next, you will see a thumbnail located in the corner of your screen. Tap it to edit the screenshots.
How To Capture A Specific Window
- Open the window that you would like to capture.
- Next, you press and hold the Command, Shift, and Space bar keys at the same time.
- Next, you will see a thumbnail in the corner of your Mac screen.
- Tap it to edit the screenshot, or you can wait for the screenshot to be saved on your desktop.
The steps outlined above will guide you through the process of taking screenshots on your Mac in various modes, including capturing a portion of the screen, a specific window, or even the entire screen.
How to Take Screenshots Using the Touch Bar
It is very easy to take a screenshot on your Macbook Pro by just using a touch bar. You can even add the screenshot feature to your Touch Bar and take screenshots of anything on your Mac’s screen with just a single tap. Here is how to do it:
- Head over to the Control Strip section of the System Preferences menu and then choose the Screenshot option.
- Make use of the Customize Control Strip button to add the Screenshot button to the Touch Bar.
- When you click the Screenshot button on the touch bar, you will be able to capture a chosen portion, a window, or even the whole screen. Then the screenshot will be saved to your system.
With the steps listed above, you will be able to take screenshots on your Mac using the Touch Bar.
How to Take a Screenshot on Mac with the In-built Screenshot Menu
The built-in screenshot menu is available on macOS, and it enables users to take screenshots and record the screen of their Mac very quickly.
- Press the Command + Shift + 5 keys on your keyboard to open the screenshot menu.
- Then the screenshot menu will now appear at the bottom of the screen.
- It has lots of options for taking a screenshot.
- Select the option that you want to use to take the screenshot. If you want to capture a particular window or chosen area, then the cursor will change to a crosshair. Tap and drag the crosshair to choose the area you want to capture.
- After choosing the area you want to capture, you can release the mouse button.
Afterward, the screenshots will be taken, and they will appear at the right bottom of the screen for just a few seconds. Then you can tap it to edit the screenshot.
How to Screenshot on Mac with Preview
Preview is an in-built app that is available on Mac, and it enables you to view and edit a variety of files, including documents, PDFs, and images. It is also a versatile tool that you can use to take screenshots. Here is how to take a screenshot with Preview:
- Open the screen or the window that you want to capture.
- Launch the Preview app on your Mac, then open the File menu tap Take Screenshot, and then select From Selection, From Window, or From Entire Screen according to your needs.
- After the screenshot is captured, you can edit it.
In addition, you can also adjust the contrast and color, or even add annotations. If you want to save your screenshot, head over to the File menu and choose Save.
